
Layer Cake Sampler QAL Week 1 {Basic piecing instructions and Blocks 1 & 2}

The time has finally come, it's week 1 for the Layer Cake Sampler Quilt Along! I have been completely floored by the interest in this quilt along and I hope that you all enjoy making this quilt as much as I have :)
Each block is made up of 16 half square triangles (HST). I will be using 2 print and 2 background squares per block. You are of course welcome to mix up your half square triangles and make each block scrappy, use different background fabrics for each block, etc...make it your own!!
Today I will first share with you the basic block piecing instructions. These instructions will remain the same from week to week. Since each block is made up of HSTs, once you know how to make the HSTs, only the layout will change. I will link back to these instructions each week in case you need a refresher.
Half Square Triangle (HST) Piecing Instructions:
1. Start with one print and one background square and place them right sides together.

A
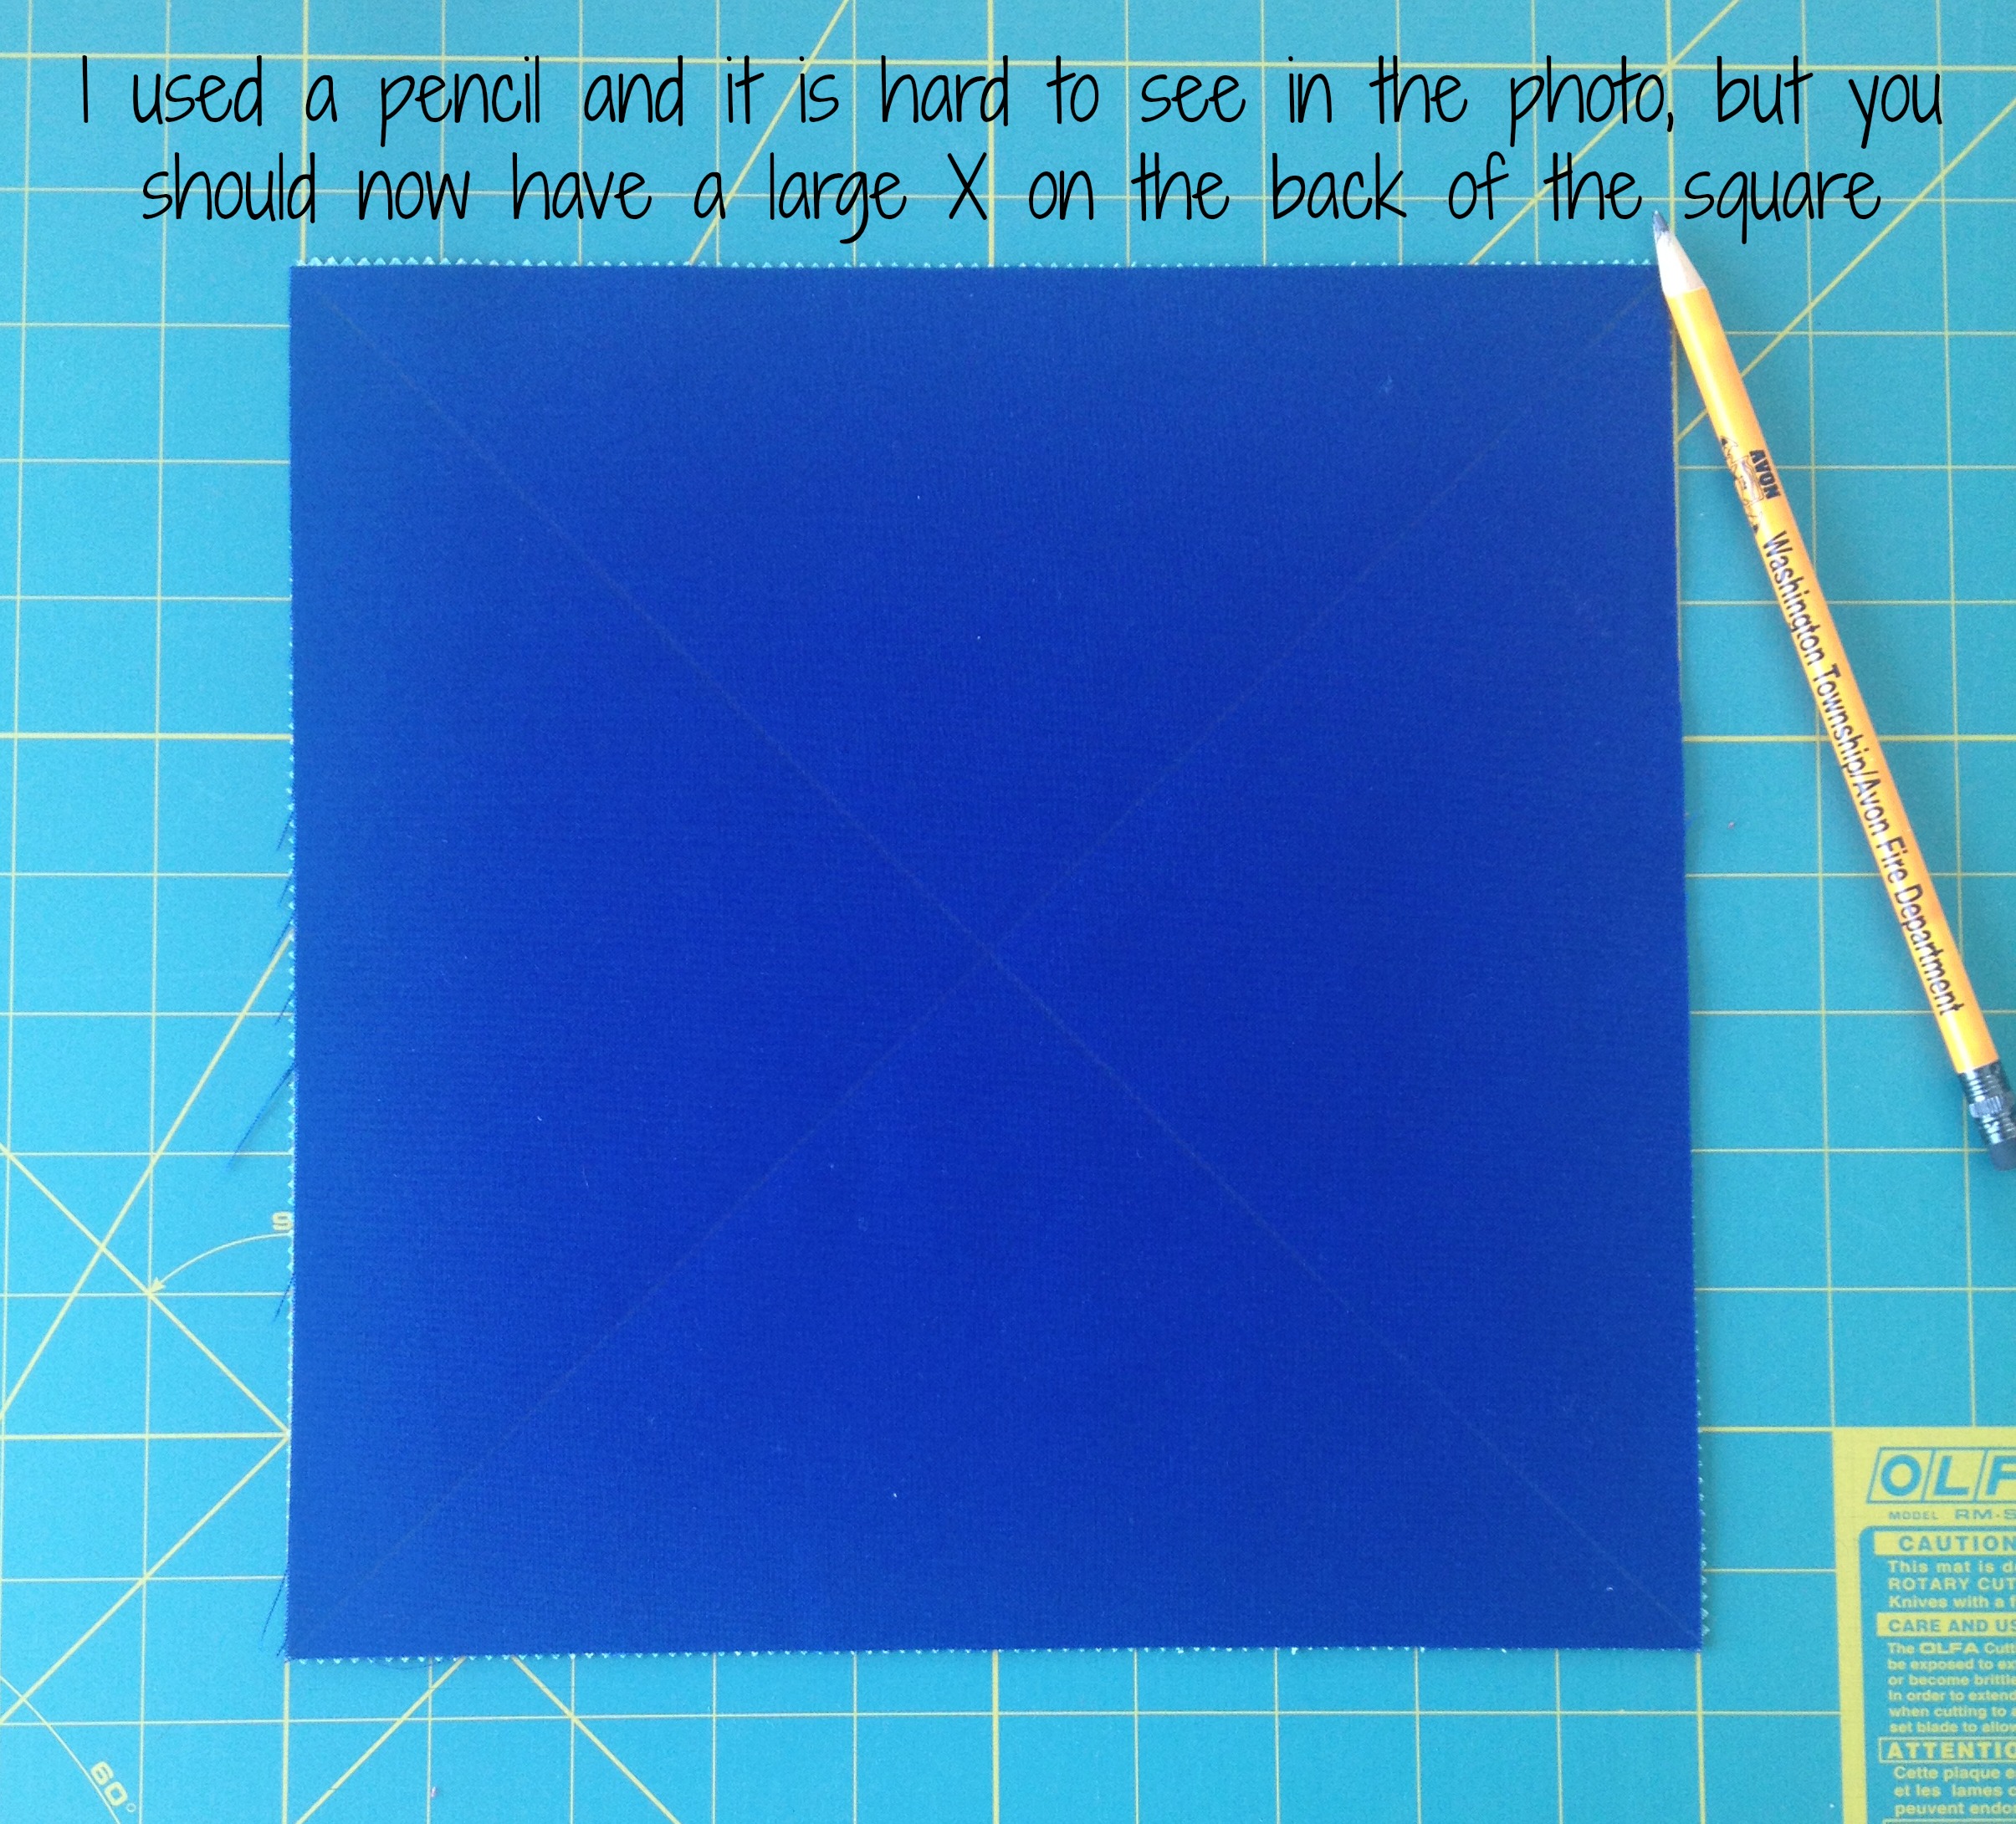
2. With right sides together and the squares lined up, draw two diagonal lines going from corner to corner on the back of the top square. I used pencil and unfortunately it is a bit hard to see in the photos with my blue background fabric.

B
3. You will end up with a large X on the back of the square.
C
4. It is best if you use 1 to 2 pins on each side of the squares to keep them from shifting while sewing them together.

D
5. Sew 1/4" on each side of the diagonal lines.

E
6. Using your ruler, measure and cut the square vertically down the middle at 5" (going right through the center of the "X".

F
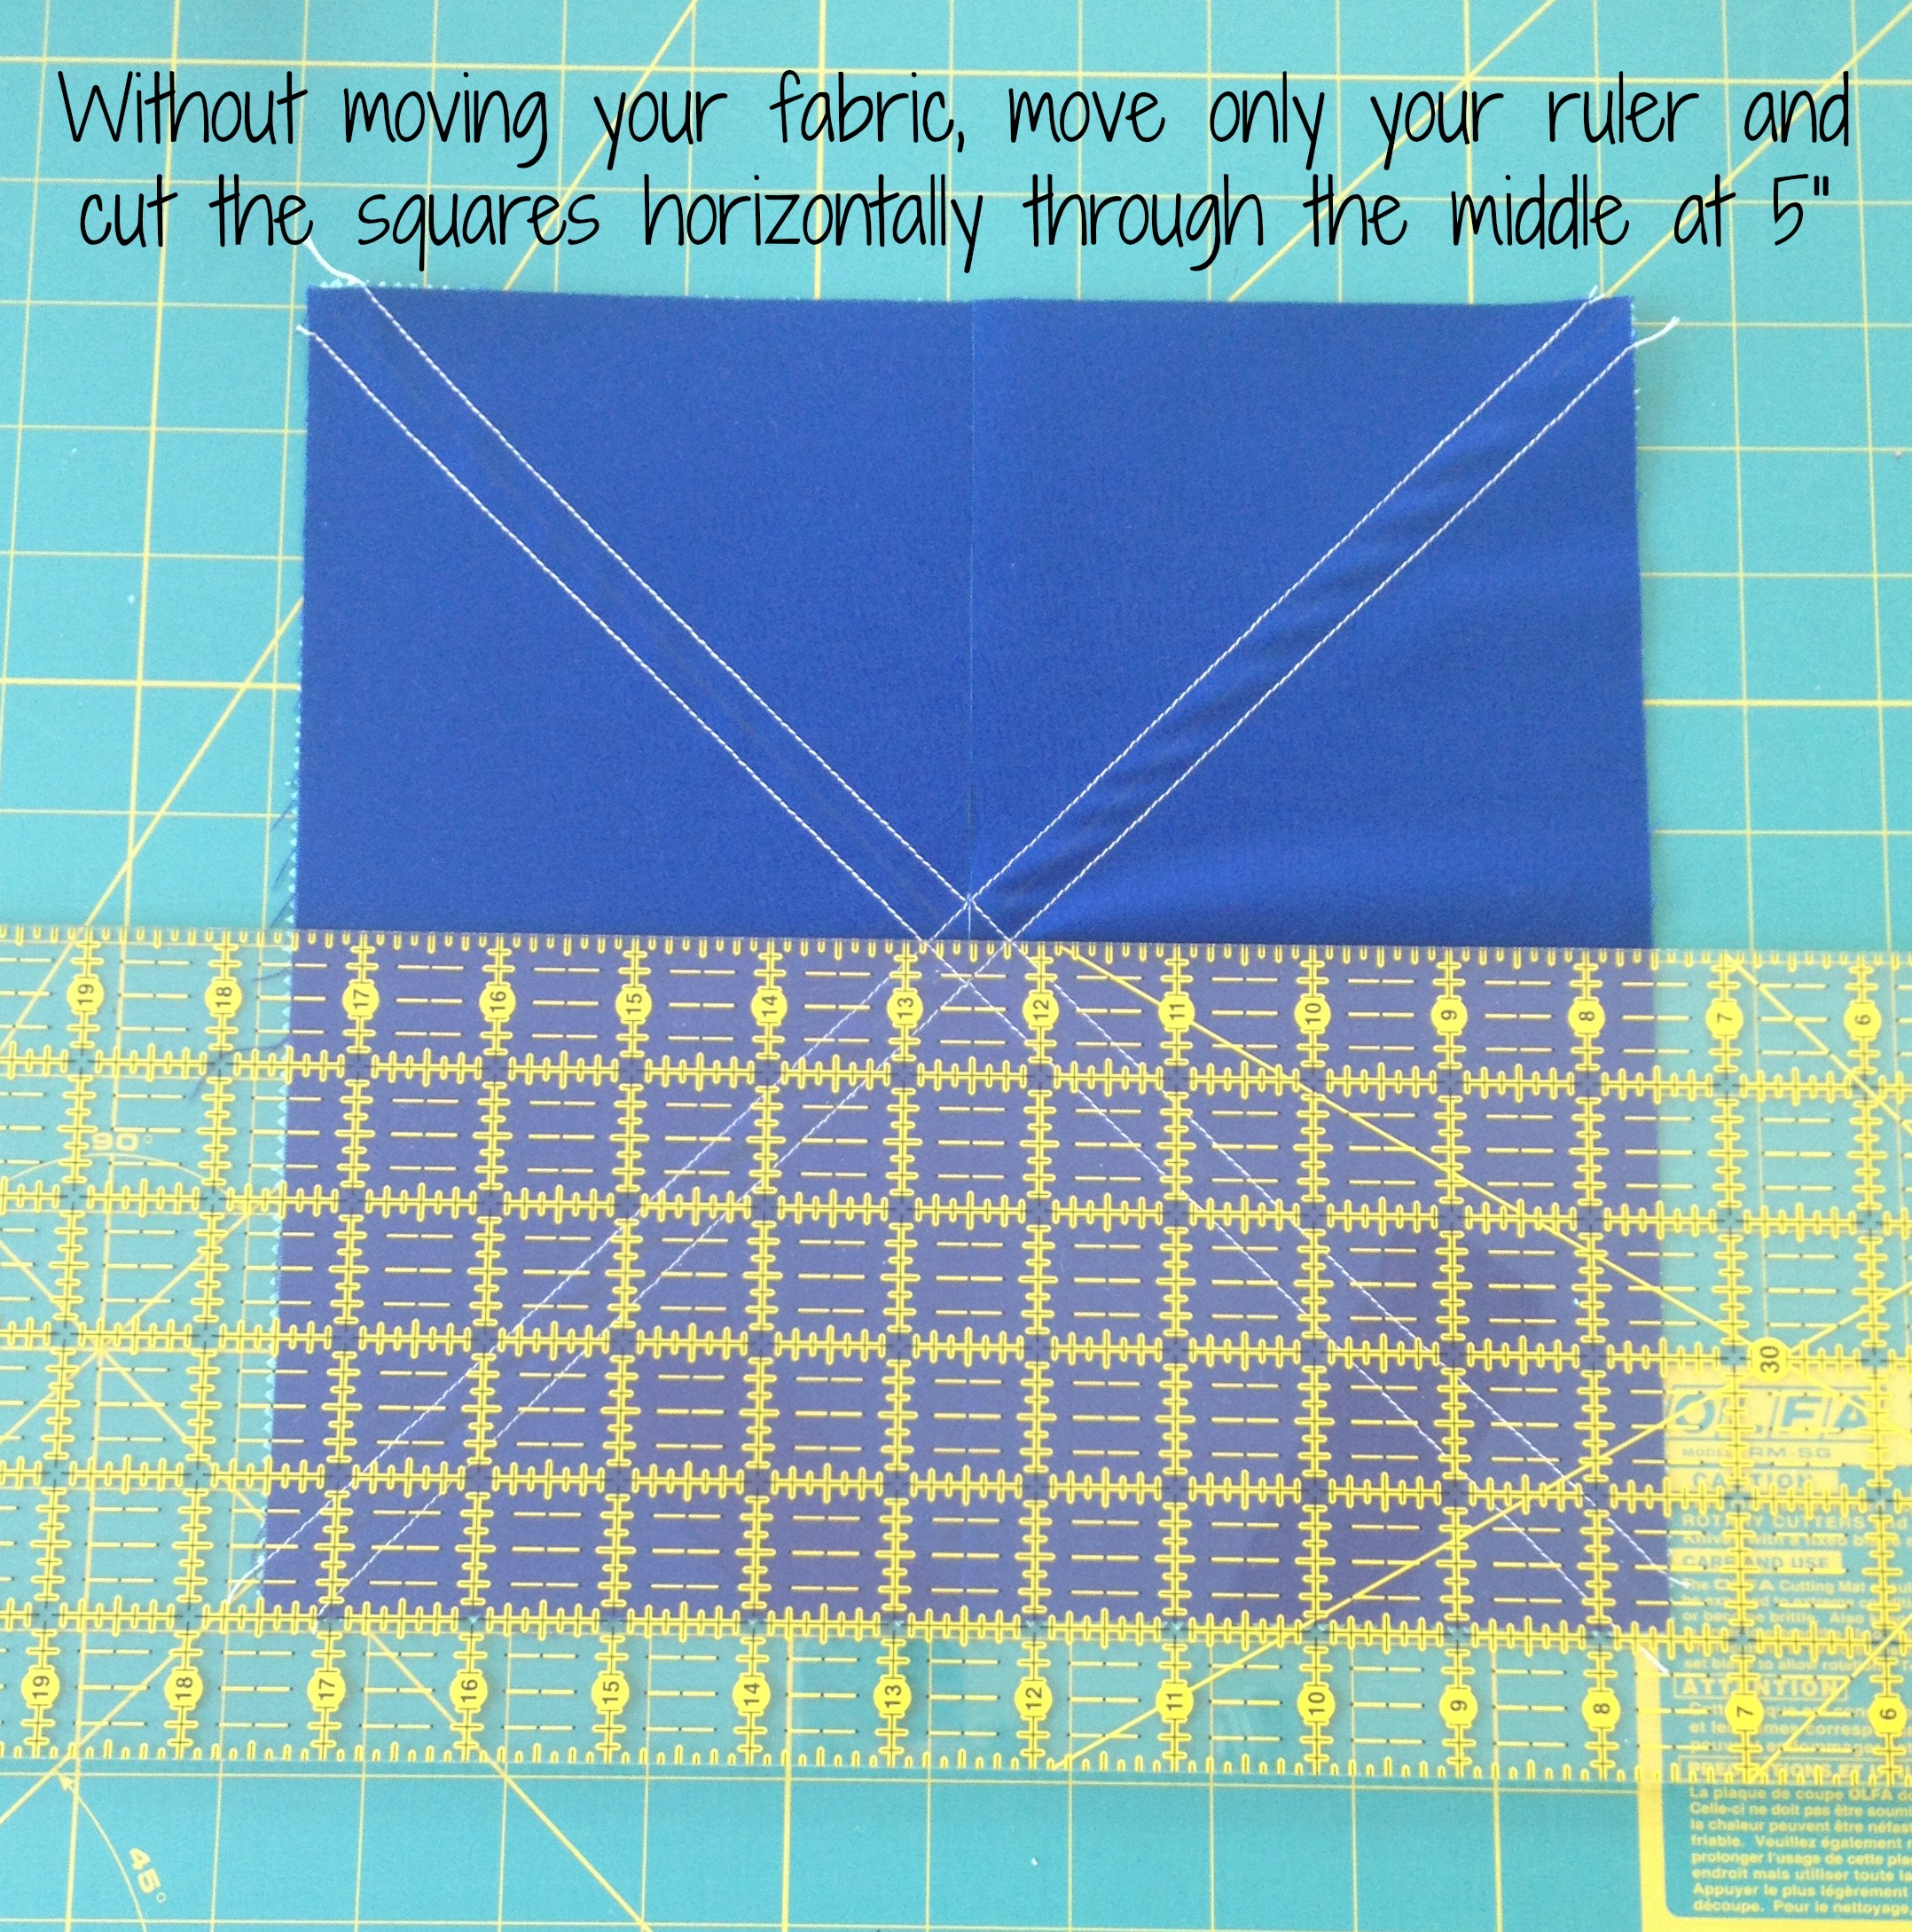
7. Without moving your fabric, pick up your ruler, measure and cut the squares horizontally through the middle at 5".
G
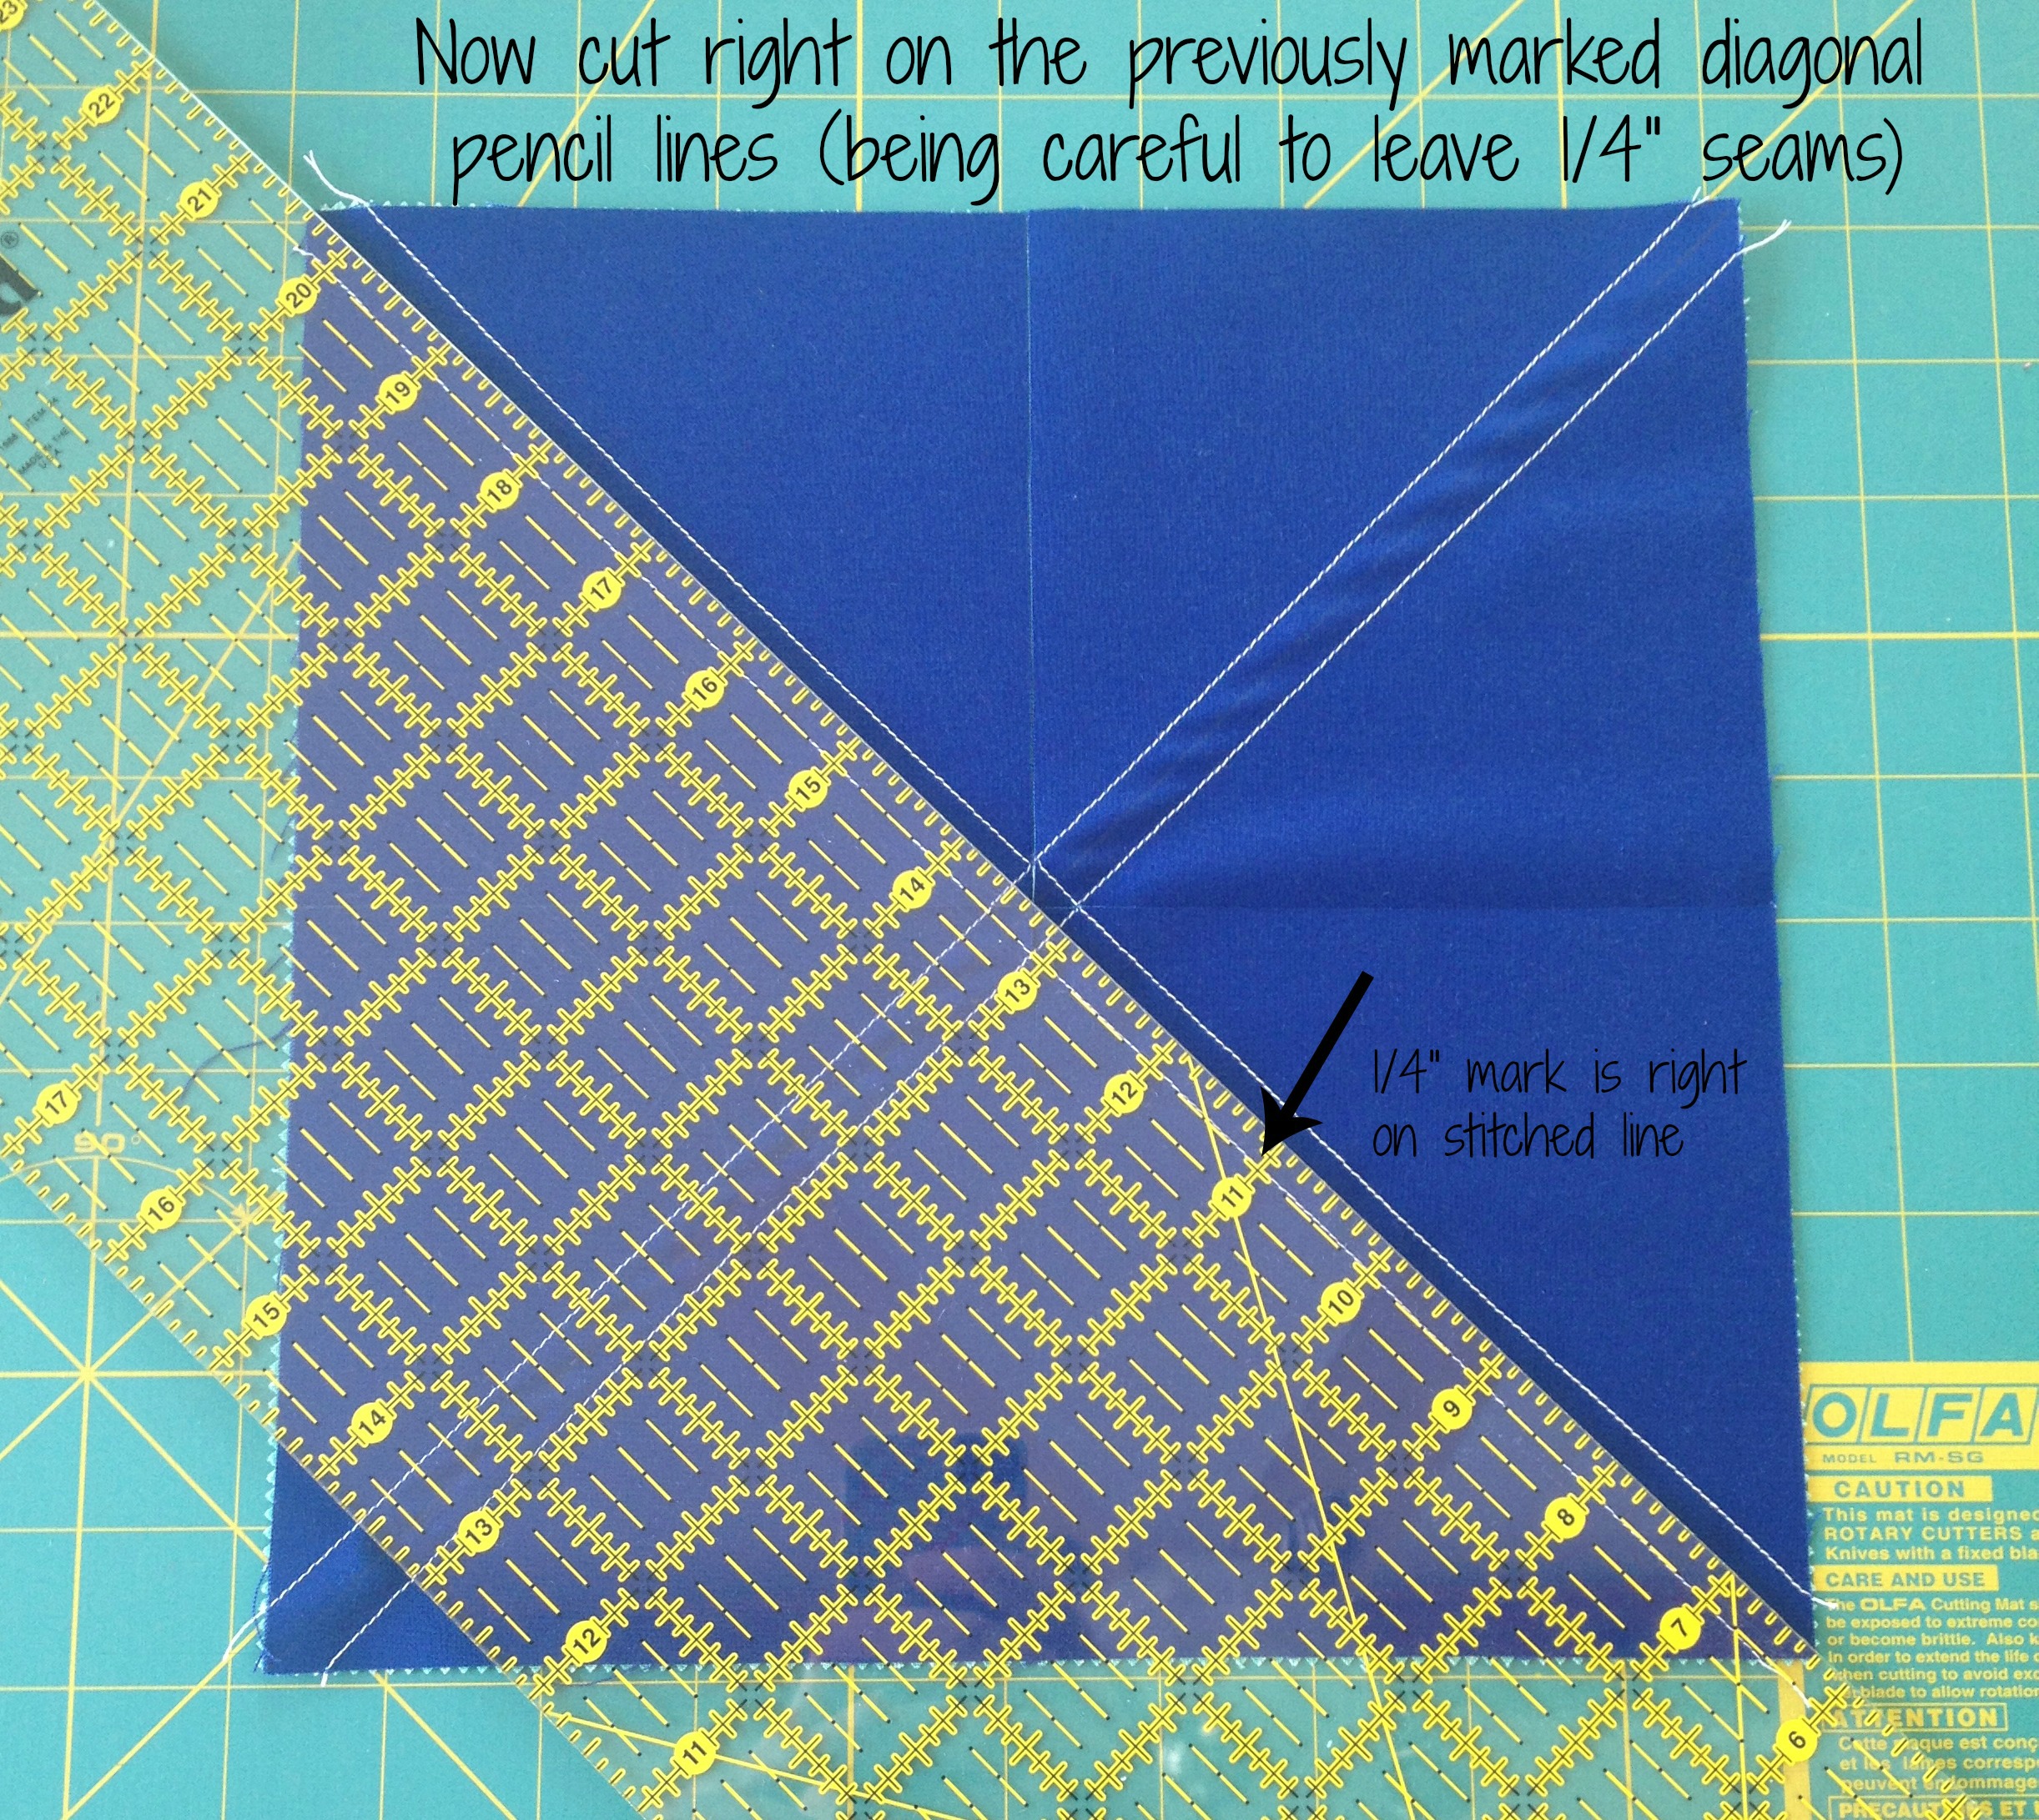
8. Again, without moving your fabric, you will line your ruler up on the large X you previously marked in pencil and cut on both diagonals. Take note to make sure you are leaving 1/4" seam.
H
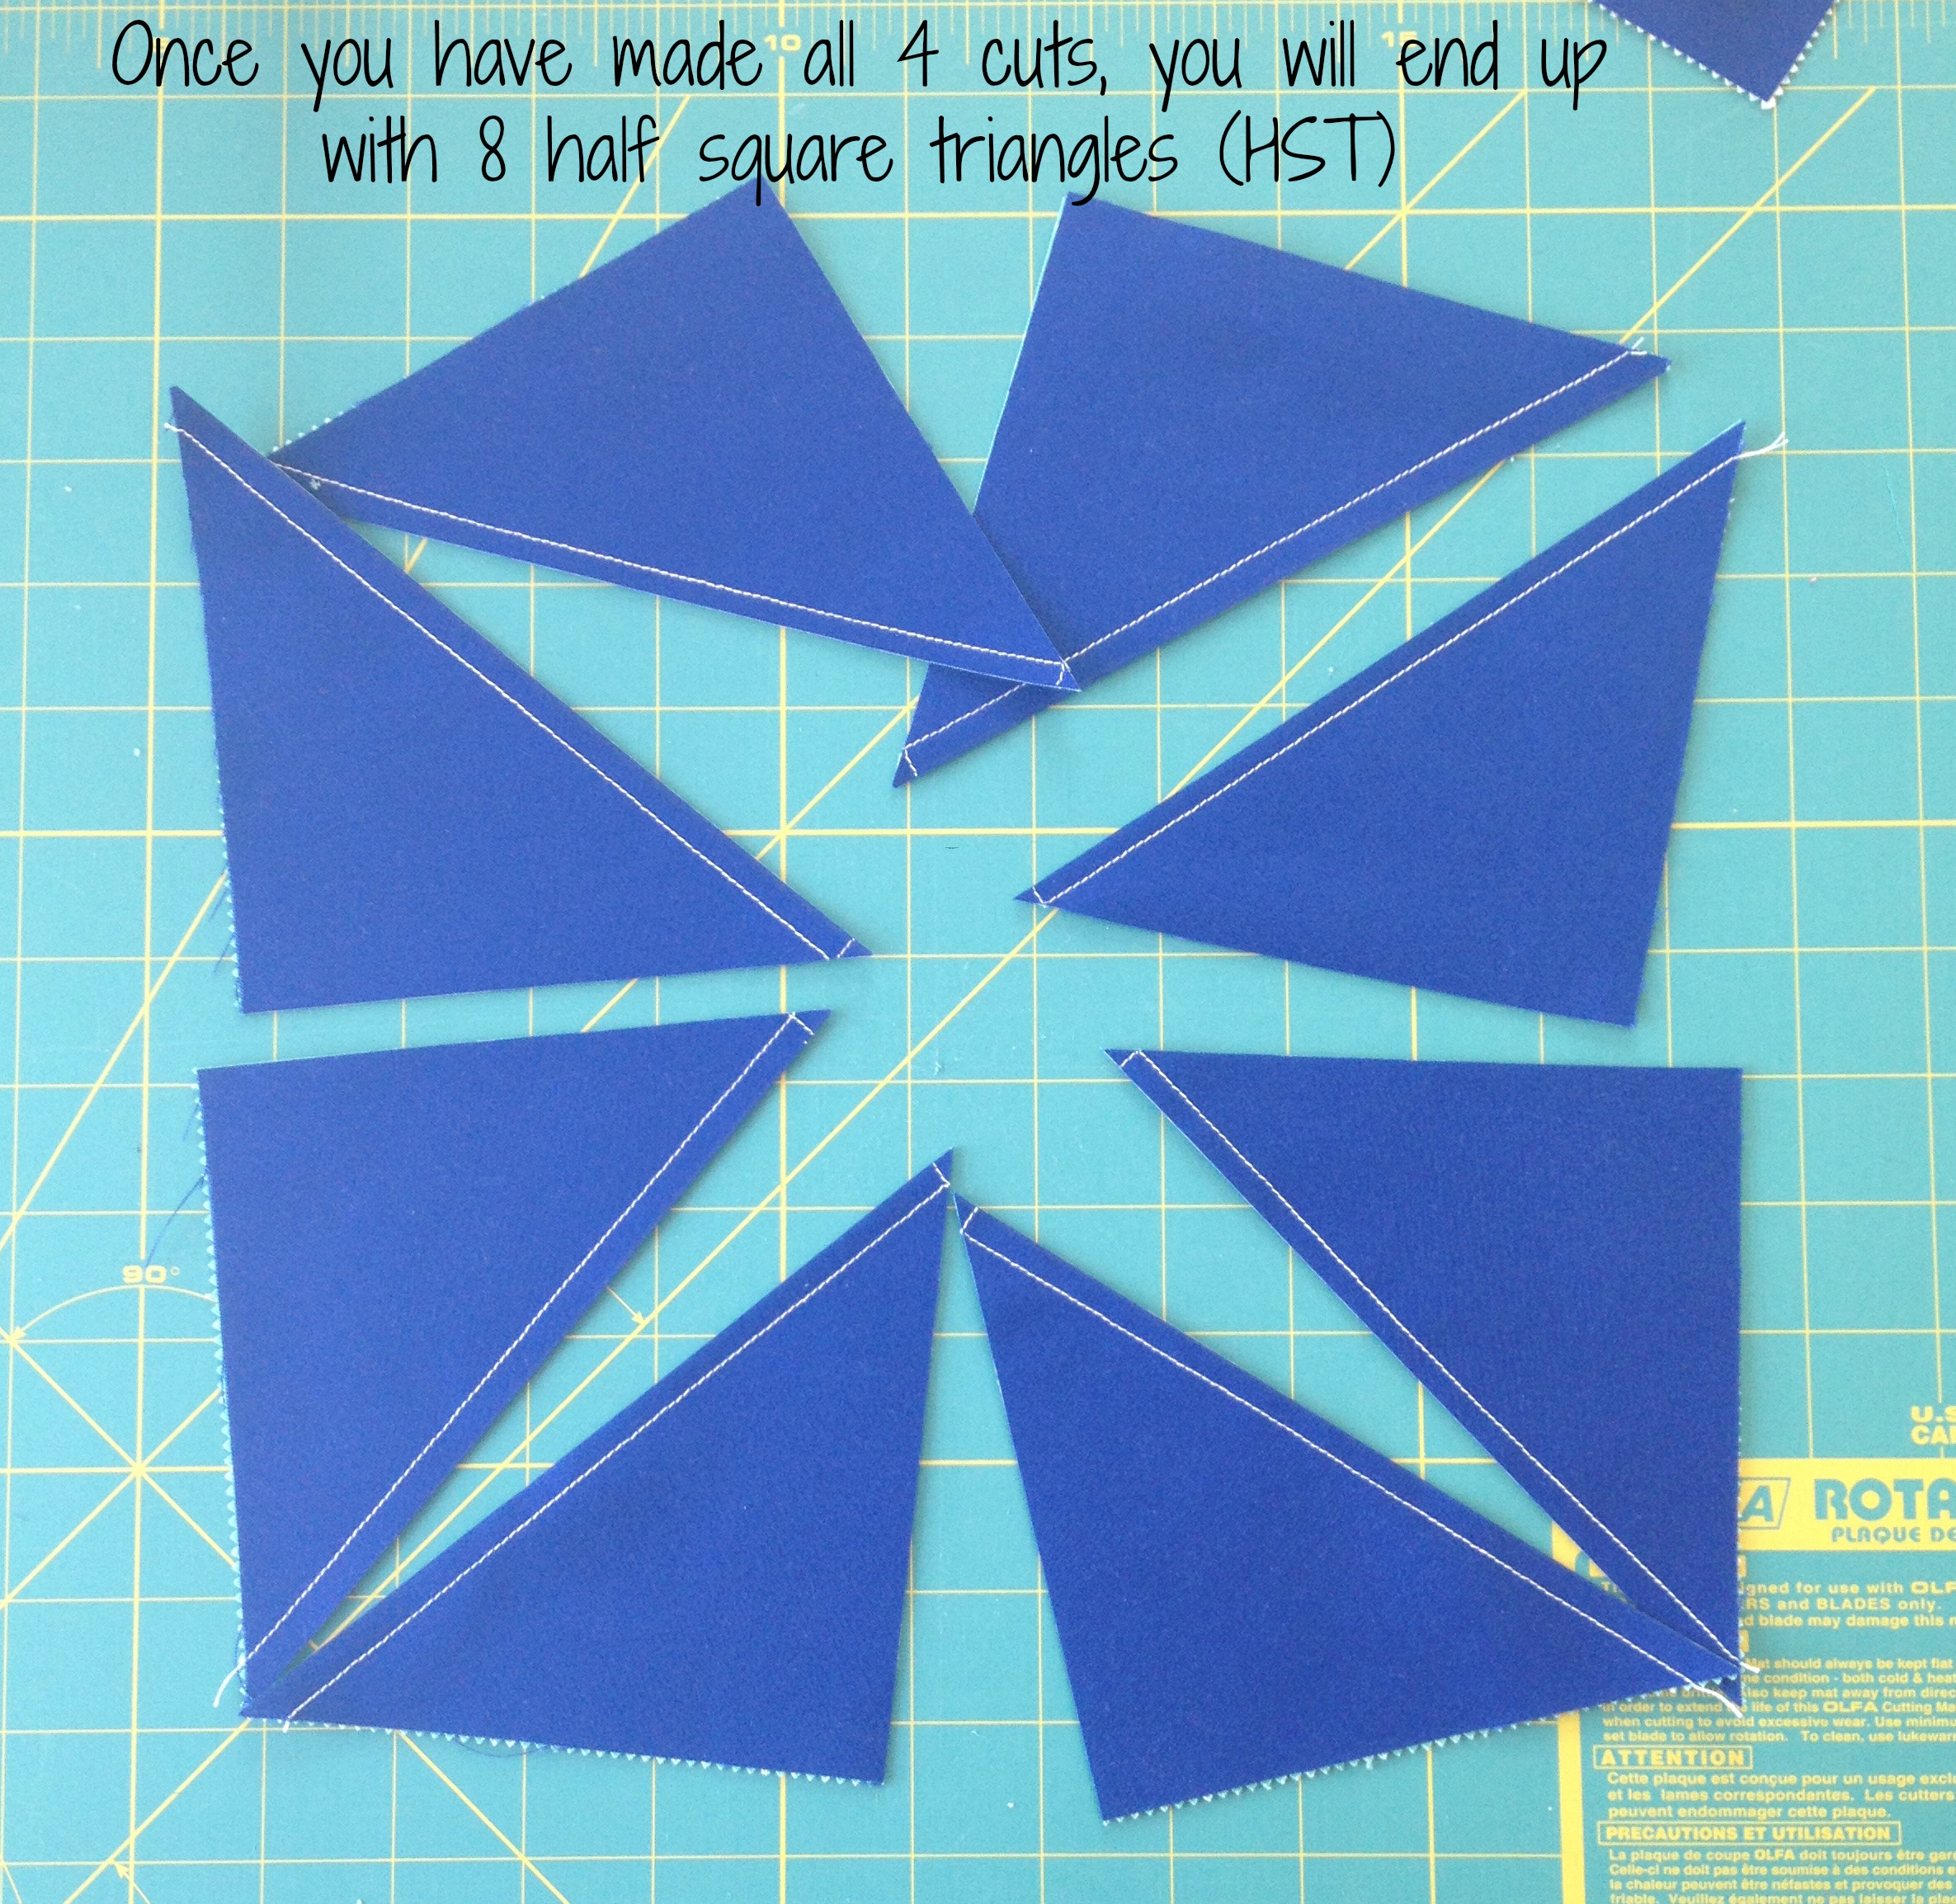
9. After you make all 4 cuts, you will have 8 HSTs.
I
10. Press your HST seams toward the dark fabric (in this case it is my background...if you are using a white background, press toward the print fabric).
11. Trim each HST down to 4 1/2". While trimming, make sure you line the seam up with the 45 degree line on your ruler so that each HST will be perfectly square. You don't need a 4 1/2" square ruler like mine (although it is very helpful!). All you need is a ruler at least that size with a 45 degree mark.

J
12. Repeat the same process with your second print and background squares to have a total of 16 HSTs.
Block piecing instructions:
1. Once you have your HSTs arranged according to the block layout, piece each row together, pressing your seams to the side in opposite directions for each row.

Block 1 layout
2. Sew your rows together using the opposite pressed seams to lock each block in place and help make your perfectly matched points :)

Block 1 seams
3. Once the rows are pieced together, you can press them all in one direction or open as you prefer.
4. Your block should measure 16 1/2" square.
Now for the fun stuff :) Let's move on to our first block layouts.
BLOCK 1:

Block 1 pieced
You got a little peak at this block in the instructions above. Block 1 is a herringbone design. Here is my block, but there are a few other ways you can change up your prints as shown below.

Block 1 - 1
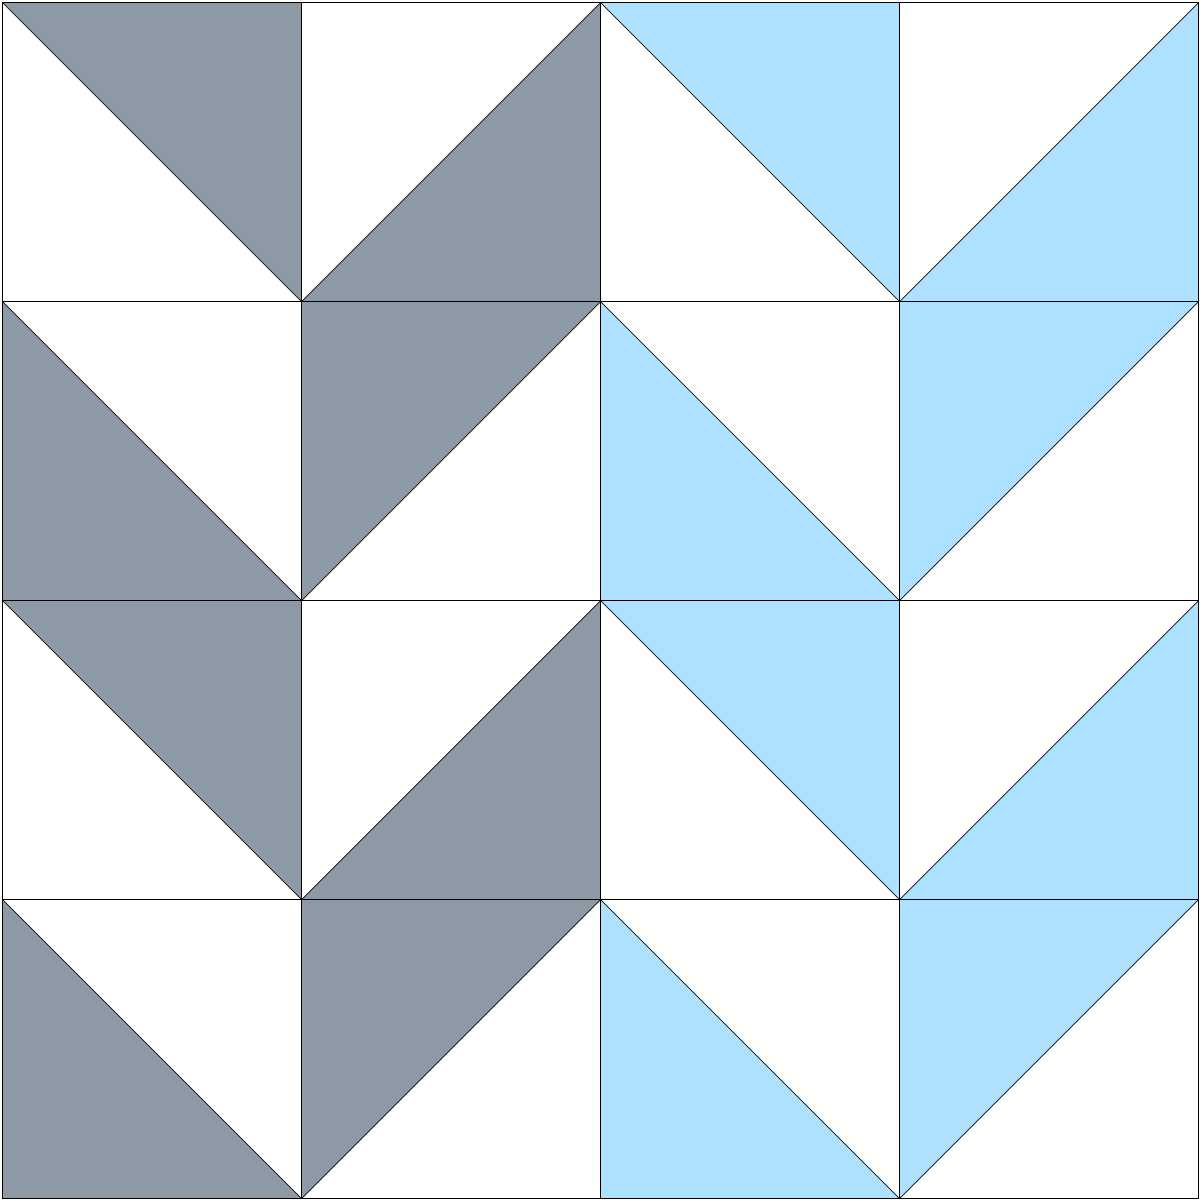
Block 1 - 2

Block 1 - 3
BLOCK 2:

Block 2 pieced
I just love this quilt block! I chose to use all the same fabrics for the "windmill" in the center. Below are a couple more color options for this block.
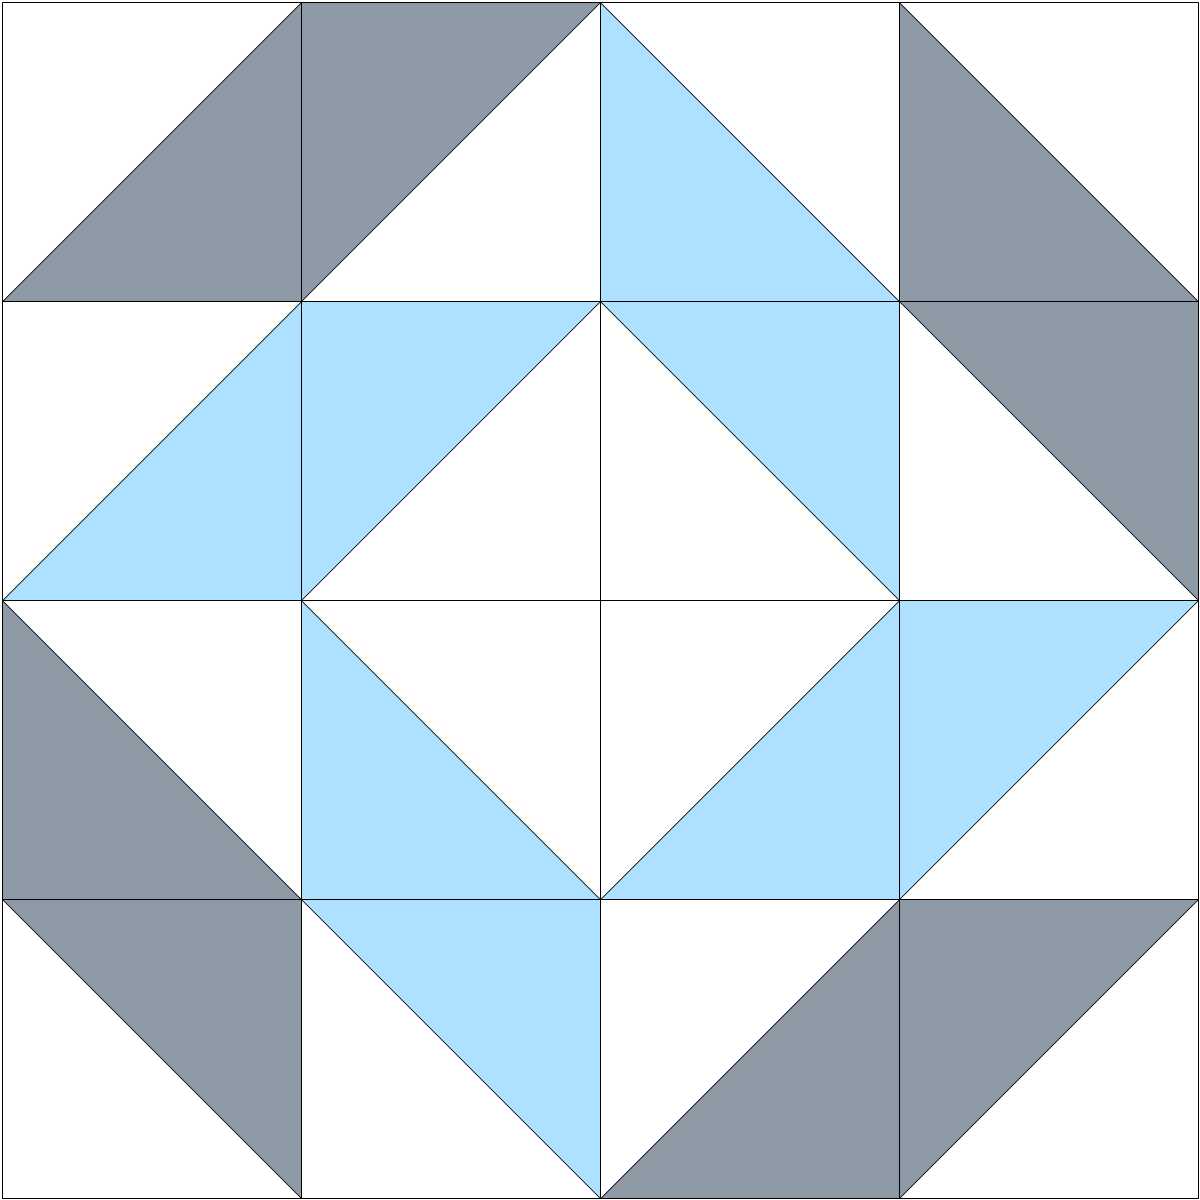
Block 2 - 1
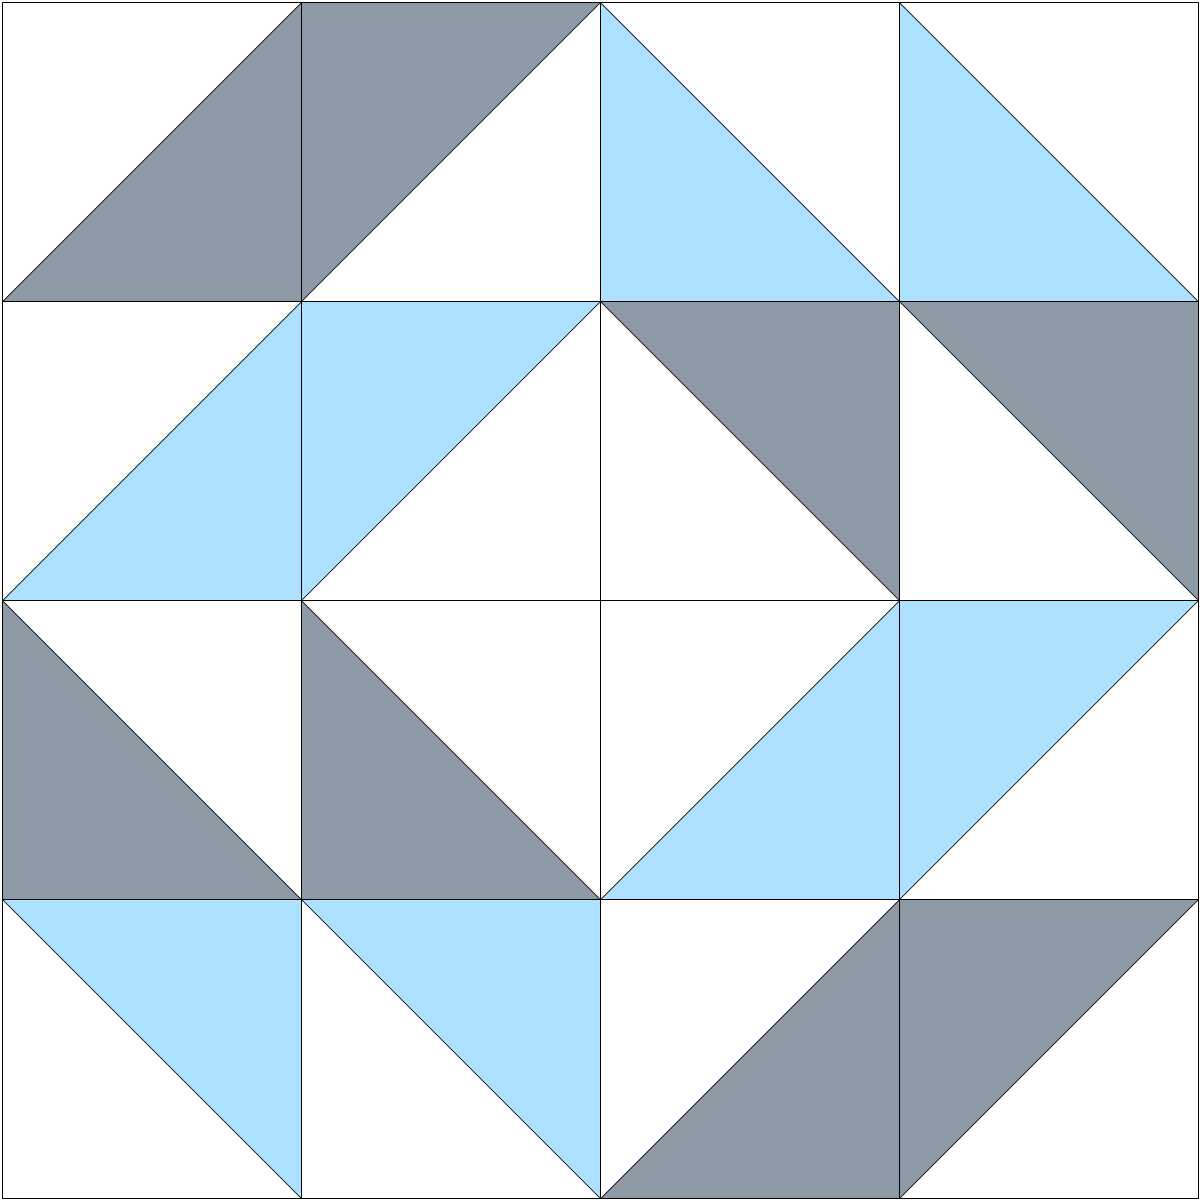
Block 2 - 2

Block 2 - 3
Now it's your turn! I can't wait to see everyone's blocks come together. Remember you can share photos of your blocks in our Flickr group and if you post them on Instagram, please use the hashtag #layercakesamplerqal so we can find each other :)
Good luck, and if you have any questions or if something above is not clear, please do not hesitate to ask. I promise to answer all of your questions and if it is something that should also be shared with the group, I will update these instructions.
Let the fun begin!

Signature