
Charming Hexagon Table Topper {tutorial}
 We needed something fun and festive for our round coffee table and a hexagon seemed like a lot more fun than a circle, so I created the Charming Hexagon Table Topper. Hexagon's are becoming very popular once again in the quilting world. For this project I didn't want to take the time to go the English Paper Piecing route and decided to piece it by machine. Let's get started.
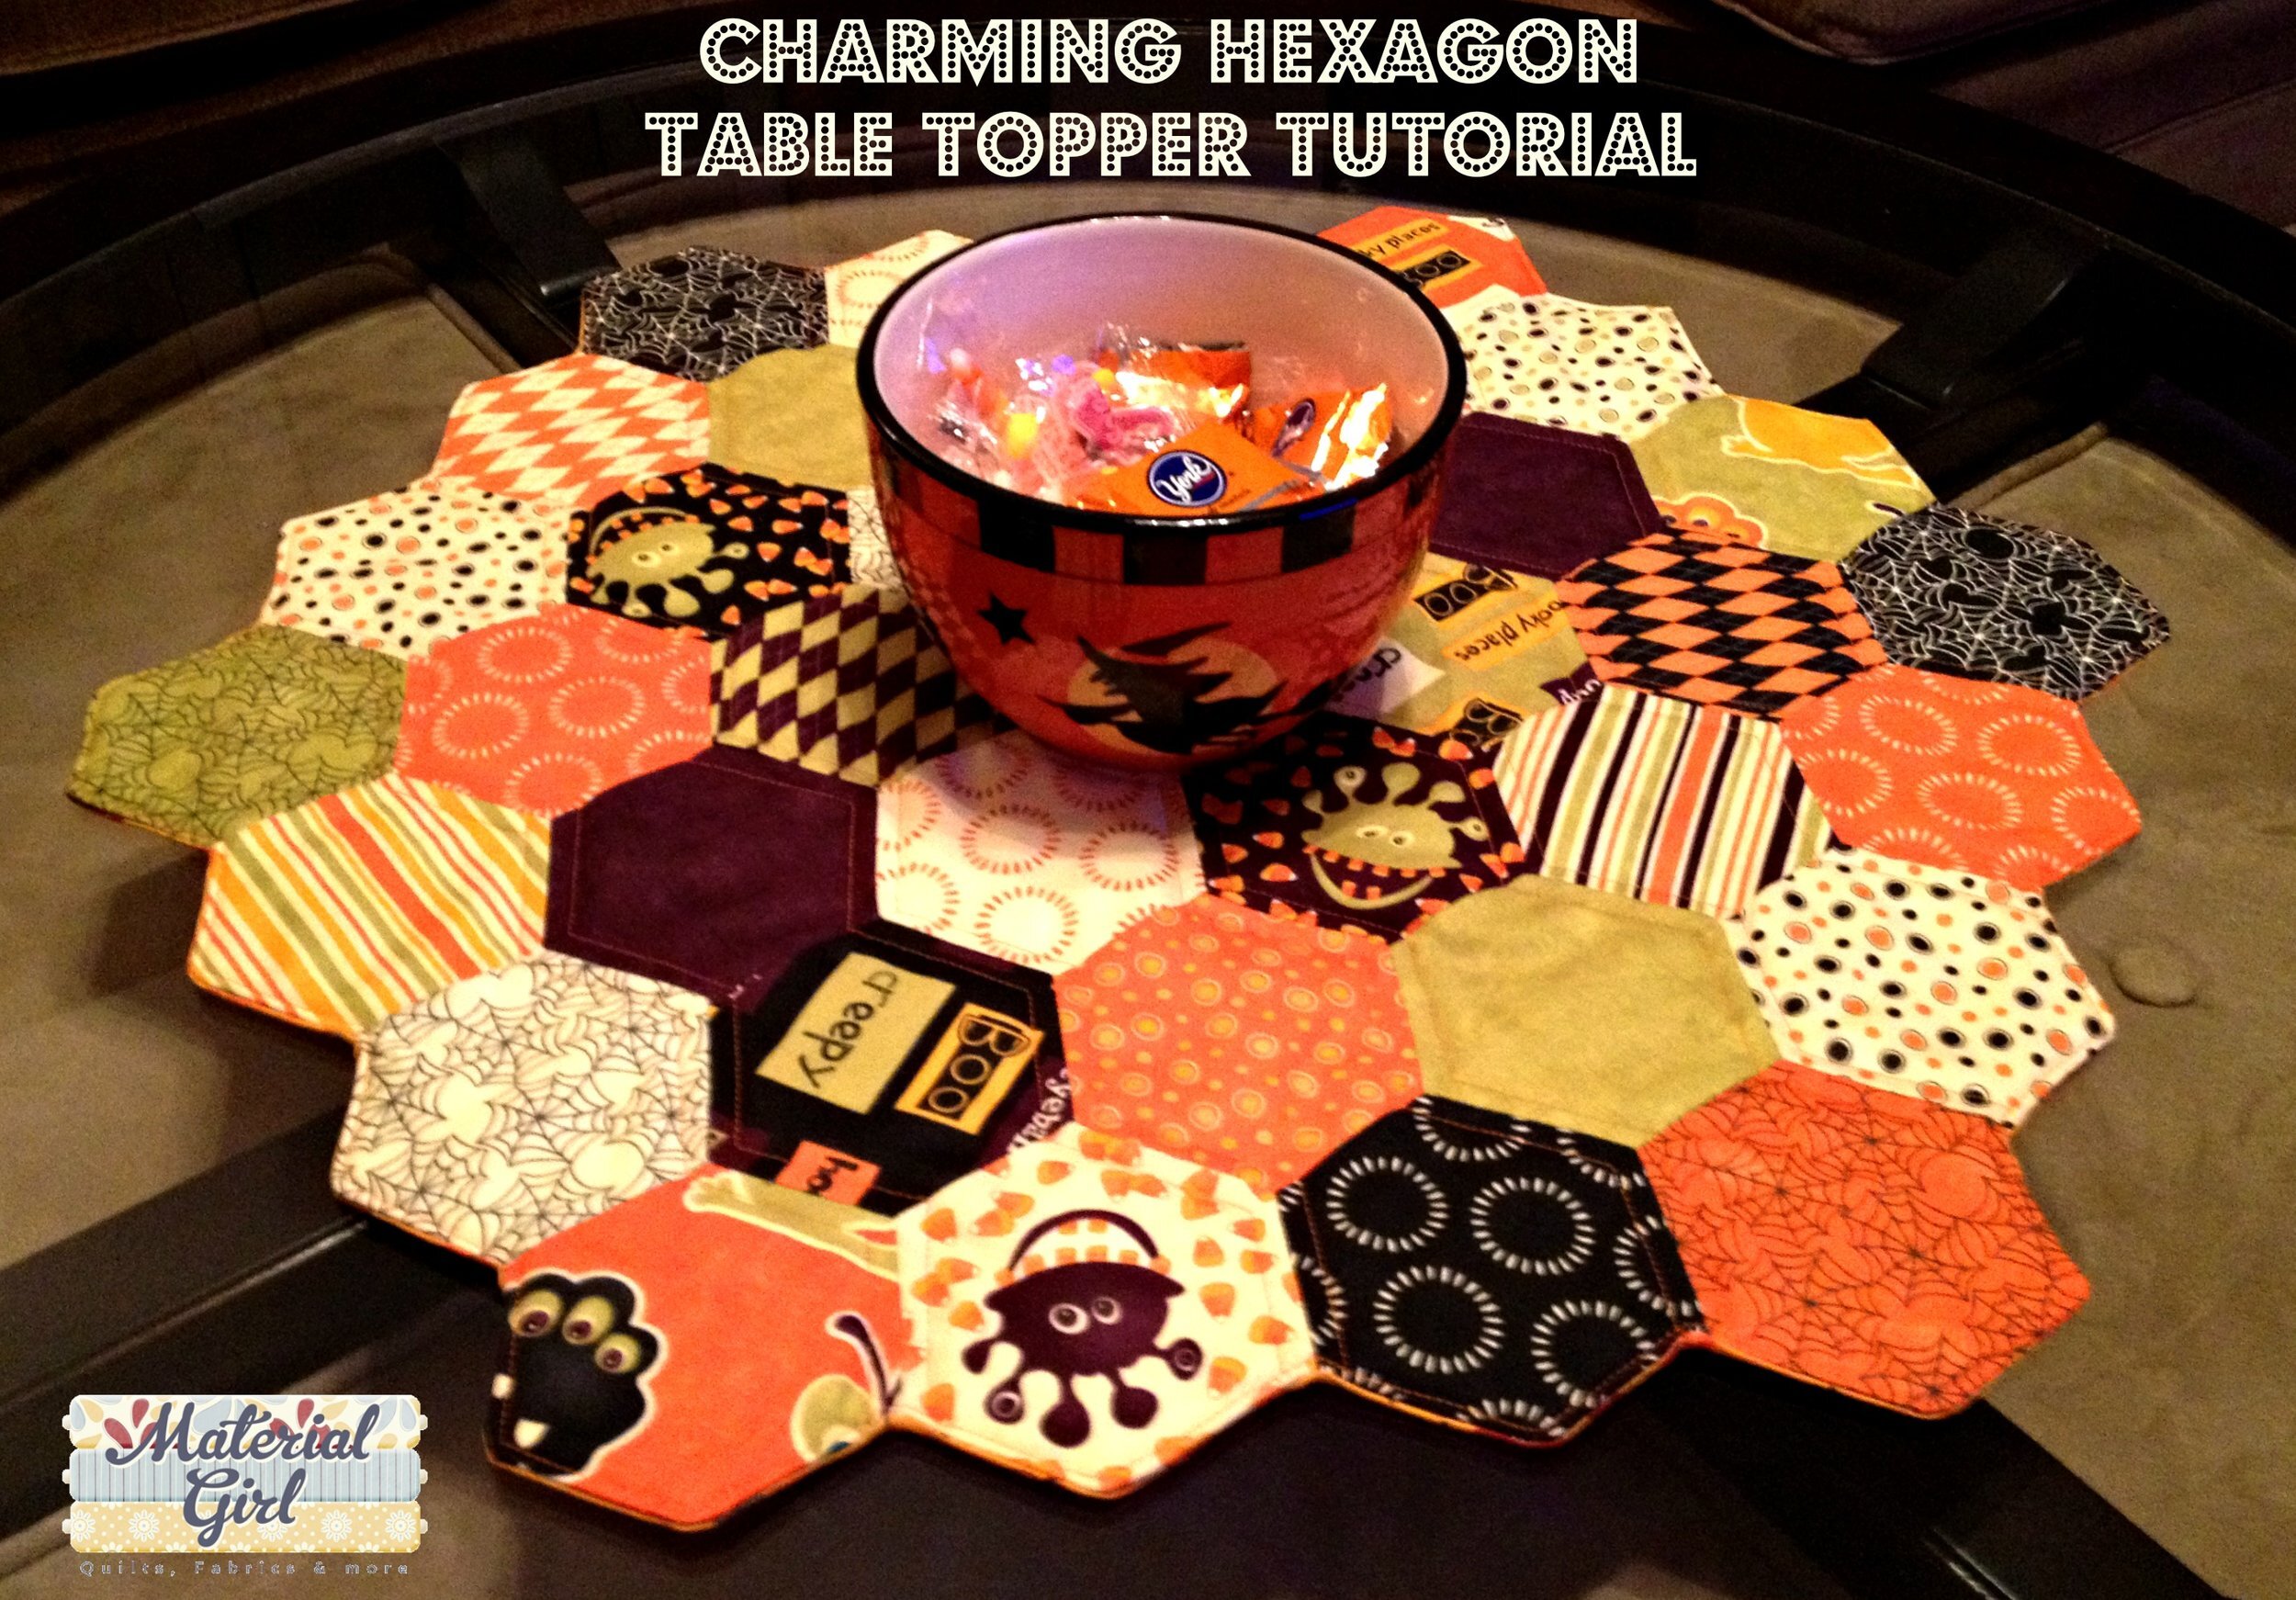
**To see any of the below photos in a larger format, simply click on the photo to enlarge.
Fabric requirements:
- Charm pack (I used Monster Bash by Sandy Gervais)
- 3/4 yard fabric for back (or approximately a 27" square fabric from your stash)
- 27" square batting
I have created a Hexagon Template that is the perfect size for cutting hexagons out of charm squares. You can download the template here.
Once you have printed the paper template, cut it out and then trace and cut it out of the cardboard backing from the charm pack to create a much stronger template than the paper (no plastic necessary :))

Use your cardboard template to cut out 37 hexagons from your charm squares. The 1/4" seam allowance is already included in the template, so all you need to do is cut right along the edge of the template, no need to add seam allowance.

Once all 37 hexagons are cut, lay them out into a hexagon formation with a center row containing 7 hexagons, followed by 6 on each side, then 5 and finally 4 hexagons in the outside rows. I had my own supervisor when I was testing my layout below :)

To machine piece this top, you will start by piecing each row together. When piecing the hexagons, you don't sew all the way to the ends of each side. Start and finish 1/4" from the outside edges. I found it helpful to measure and mark the 1/4" spot before piecing.

Remember to backstitch at the beginning and end of each seam. Below is a photo of the first seam attaching the first two hexagons together.

Once you a have completed row of hexagons, press your seams open.

Once you have all rows pieced together, they will look like this.

Now it's time to piece the rows together. You will flip the first row over the second to match up the edges for the first seam (green hexagon and dot hexagon in top left of photo above).

Once again, you start and stop sewing 1/4" from the edge of the fabric. You can mark your starting point, and the ending point will be when you reach the prior sewn seam that you pressed open.

Once your first seam is complete, you will fold the first hexagon in half in order to line up the next seam. There is no need to mark your starting/stopping points because you will just sew from seam to seam (don't forget to backstitch at the beginning and end of each seam!)

After you complete that seam, you will fold the appropriate hexagon in half again to line up the third seam.

Here is a close up of the third seam.

You will continue in the same fashion until you have the first two rows completely sewn together. Press seams open.

Now just continue the to attach each row using the same method until your top is complete.

All seams should be pressed open as shown below to help your table topper lay flat.

I did not want to finish this table topper with binding, so I decided to do the stitch and flip method. I used some scrap batting and spray basted it to the wrong side of the table topper. As an alternative you could use fusible batting. Once the batting and table topper are basted, trim the batting away to match up with the edges of the top.

Once trimmed, layer the basted top right side down on top of the backing fabric. Pin in place.

Attach the basted top to the backing using a 1/4" seam allowance and leaving an opening wide enough for you to reach in and turn right side out.

Once the backing is attached, trim it to match the edges of the basted top.

Now turn the table topper right side out and fold down the opening 1/4". Stitch approximately 1/8" around the outside edge to secure the opening and quilt as desired.

I backed my table topper in a fall print so that as soon as Halloween has passed I can just flip it over and keep using it until I get out the Christmas decorations!

Finished size is approx. 23 1/2" x 21 1/2"
Thanks for stopping by and I'd love to see what you make with this tutorial.
