
Travel Sewing Kit - Tutorial
As promised on Wednesday, I am back to show you how to make a fast, fun little travel sewing kit.

I decided to make all of my local sewing buddies who are doing the Women of Courage BOM one as a surprise! This is a very handy thing to have for traveling to sewing retreats/sew-ins or to keep your hand stitching items together. I made one for myself years ago, but I can't seem to find the pattern anywhere, so I just winged it with a few adjustments.

Requirements:
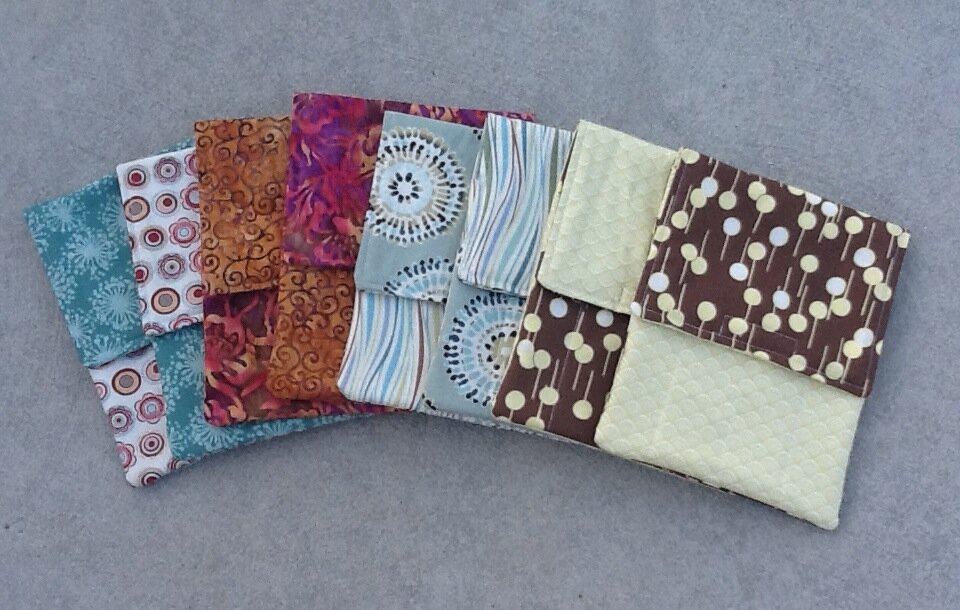
2 - coordinating fat quarters 1 - 9" x 17" piece of batting 2 1/2" of sew on velcro *NOTE - I realize there are a ton of photos in this post, so I decided to make them a bit smaller for ease of reading. If you would like to see any of them in a larger format, simply click on the photo.- From the fabric that will be on the back (and fold over to the front) - cut one piece 9" x 17" and one piece 9" x 16"
- From the other fabric cut one piece 9" x 17" and one piece 9" x 12"

- Fold the two smaller pieces in half to create two "pockets" and press on the fold. When folded they should measure 9" x 8" and 9" x 6".

- Fold the 9" x 6" pocket piece in half along the width and finger press to give you a center line.


- Separate your velcro pieces and place the "rough" side centered at the top on the small pocket (facing up!). Stitch approximately 1/4" from the fold making sure to catch the top of the velcro along the way.


-
Once you have sewn along the top of the pocket, you will now need to stitch down the rest of the velcro. Start at the top right (unstitched) corner and once you reach the other corner, leave your needle down and turn your pocket 90 degrees to stitch along the bottom of the velcro, repeating the same process at the next corner to get back to the top. You will need to make sure you backstitch at the beginning and end of this process!


-
Now that the velcro is sewn onto the small pocket it is time to layer and stitch both pocket pieces. Place the small pocket piece on top of the large pocket piece and start stitching in the center/top of the small one all the way to the bottom of the pockets.
-
To create more "pockets" you can stitch additional lines onto the smaller pocket piece. I stitched 3 lines in my into my pockets providing me with 4 smaller pockets once it is all sewn together. I just eyeballed where I wanted the lines, but of course you could measure and mark if you prefer.


-
Once all of your pocket lines are stitched it is time to layer all of the pieces to sew together. Layer in this order (1) Start with the batting on bottom (2) interior 9" x 17" piece facing up (3) completed pocket pieces facing up and (4) exterior 9" x 17" piece facing down.


-
Once all of your pieces are layered, pin in a few spots to keep them from slipping while you sew them together.
-
Using 1/2" seam allowance start at the top of the flap about 2-3 inches from one corner and stitch all the way around back to the top of the flap - leaving an opening big enough for you to insert your hand for pulling the fabric out. Make sure to back stitch at the beginning and end!

-
Before you turn it inside out you will need to clip the corners as shown below. Be careful not to cut over any stitches.

-
Now it is time to turn! Reach your hand inside (betwen the front and back fabric pieces and pull it through.

-
Once it is turned out, it will look like this with the top of the flap still open. Use a stiletto or other pointy item like a pencil tip to help poke the fabric out in the corners.

-
Now we need to close up the top and sew on the other half of your velcro.
-
Begin by tucking in the fabric and batting to line up with your seam.
-
Pin it closed with your velcro piece centered at the top of the flap.

-
We're almost there! It's time to stitch the edge of the flap.
-
Start at the top of the pocket pieces and (using a backstich at the beginning) stitch going up the side of the flap about 1/4" from the edge. Once you reach the first corner follow the same process as above, leaving your needle down and turning 90 degrees, to continue stitching along the top of the flap and over the top of the velcro.


-
You will do the same thing at the next corner and then stop stitching when you reach the top of the pockets on the other side...finishing with some backstitches!

-
One last thing to do is finish sewing down the velcro on the flap (using the same method as above).

I hope you find this tutorial helpful and if you decide to make one of your own, I would love to see photos!
Have a wonderful weekend.
Amanda